.webp)

Is Your AC Not Cooling Properly? What to Check Before You Call for Help
If you've been searching for ac not cooling properly what to check, you're likely dealing with a hot, uncomfortable home — and you want answers fast. Before you pick up the phone, here are the most common things to check first:
Quick Check List: AC Not Cooling Properly
- Thermostat settings — Make sure it's set to "Cool" mode and the fan is on "Auto," not "On"
- Air filter — A dirty or clogged filter is the single most common cause of poor AC cooling
- Circuit breaker — Check for a tripped breaker at your main electrical panel
- Outdoor condenser unit — Look for debris, overgrown plants, or blocked airflow around the unit
- Frozen evaporator coil — Check for ice buildup on the refrigerant lines near the indoor unit
- Condensate drain line — A clog can trigger a float switch that shuts your system down
- Refrigerant leak signs — Listen for hissing sounds or look for ice on the lines (call a pro for this one)
There's nothing quite like walking inside on a sweltering Minneapolis summer afternoon, expecting cool relief, only to realize your AC is running but your home feels like an oven. It's frustrating — and in the Twin Cities, where summer temperatures can climb well into the 90s, a cooling system that isn't doing its job is more than an inconvenience.
The good news? Many of the most common AC cooling problems have simple causes that homeowners can check themselves in just a few minutes. According to HVAC professionals, a dirty air filter alone accounts for a significant share of AC service calls every year — and it's one of the easiest fixes there is.
That said, some problems — like low refrigerant, a failed capacitor, or a struggling compressor — do require a licensed, NATE-certified technician to diagnose and repair safely. Knowing the difference between a DIY fix and a professional repair can save you time, protect your system, and help you avoid turning a minor issue into a costly breakdown.
In this guide, Countryside Heating & Cooling Solutions walks you through six straightforward troubleshooting steps to help you figure out why your AC isn't keeping up — and what to do about it.
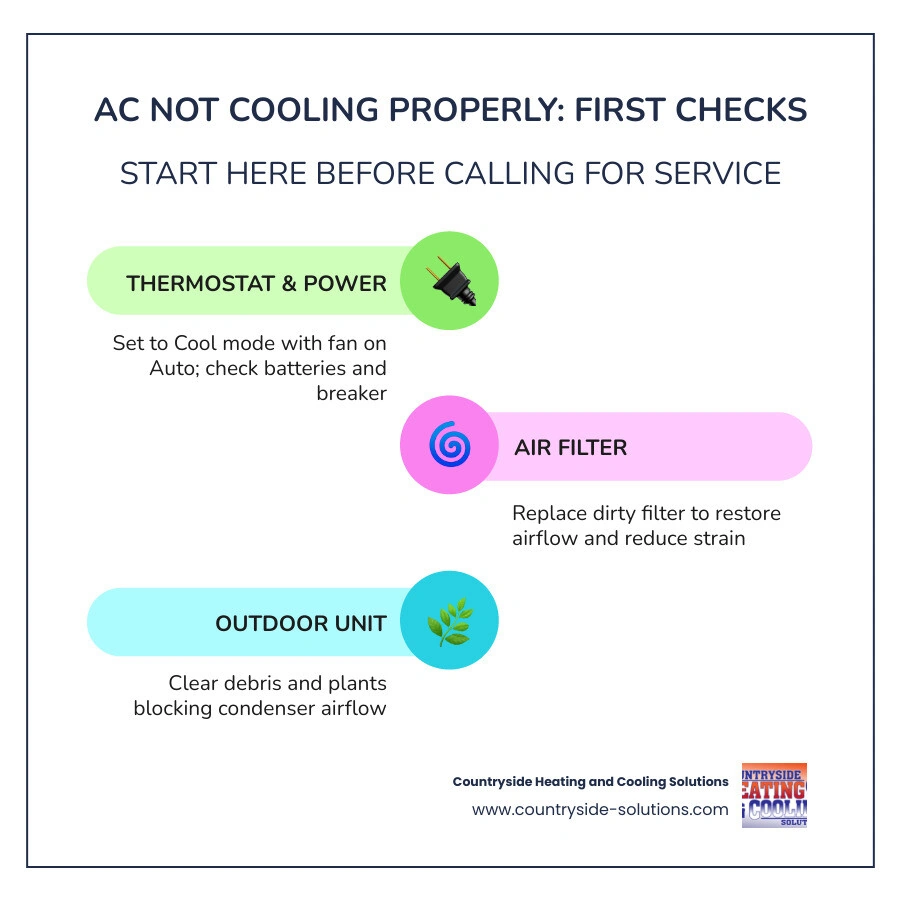
Quick DIY Troubleshooting: AC Not Cooling Properly What to Check First

When your home starts feeling more like a sauna than a sanctuary, it's easy to assume the worst. However, before you panic about system failures, it helps to run through a few basic checks. Many cooling issues stem from simple airflow blockages or minor setting oversights that can be resolved without a toolkit.
To help you distinguish between a simple fix and a technical issue, we have put together a comprehensive overview of 7 Common AC Problems and How to Fix Them. By understanding how air moves through your system, you can easily troubleshoot the most common culprits. Let's start with the easiest, most cost-effective checks you can perform right now.
Step 1: Verify Thermostat Settings and Power
It might sound overly simple, but the thermostat is the brain of your entire HVAC system, and it is surprisingly easy for settings to get bumped or adjusted by accident. If your household has multiple family members, someone may have changed a setting without your knowledge.
First, verify that your thermostat is set to COOL mode and that the temperature setpoint is at least 5°F below the current room temperature. If the screen is blank or dim, your thermostat batteries may simply be dead. Try swapping them out for fresh ones.
Next, pay close attention to the fan setting. Is it set to ON or AUTO?
- ON: This setting forces the indoor blower fan to run continuously 24 hours a day, even when the outdoor unit isn't actively cooling the air. When the cooling cycle ends, the fan will continue blowing room-temperature air through your vents, making it feel like your AC is blowing warm or lukewarm air. It can also blow moisture back into your home that was recently condensed on your coils, raising indoor humidity levels.
- AUTO: This is the correct setting. It ensures that the blower fan only runs when the system is actively cooling the air, keeping your home consistently comfortable and dry.
If your system is running constantly but not dropping the temperature, you might wonder, Why Won't My Air Conditioner Turn Off? Often, a quick thermostat reset or adjusting the fan back to "AUTO" can resolve this issue immediately.
Finally, check your home’s electrical panel. Air conditioners draw a significant amount of power, especially during hot Minnesota summer heatwaves. This high demand can occasionally trip a circuit breaker. Locate the breaker labeled for your AC, switch it completely to the OFF position, and then flip it back to ON. If the breaker trips again immediately, do not attempt to reset it a second time — this indicates an electrical fault that requires professional attention.
Step 2: Inspect and Replace the Air Filter
If your thermostat settings are correct, the next item on your ac not cooling properly what to check list must be the air filter. A dirty, clogged air filter is the number one cause of residential cooling complaints.
Your air conditioner works by pulling warm indoor air through a return vent, passing it over a freezing-cold evaporator coil to extract heat and moisture, and then pushing the cooled air back into your living spaces. If the air filter is caked in dust, pet dander, or hair, it acts like a thick blanket, restricting the volume of air that can pass through.
When airflow is severely restricted, several issues occur:
- The system has to work twice as hard to pull in air, causing a massive spike in your monthly utility bills.
- The lack of warm air flowing over the indoor evaporator coil causes the coil's temperature to drop below freezing, leading to ice buildup.
- Your home will experience weak airflow from the registers, and you will notice your Air Conditioner Not Blowing Cold Air.
For standard 1-inch pleated filters, we recommend checking them monthly during the peak cooling season (May through October) and replacing them every 30 to 90 days. If you have pets, allergies, or live in a dusty area like some of our developing neighborhoods in Maple Grove or Eden Prairie, you may need to change them every 45 days. If you use a thicker 4-inch media filter, these can typically last 3 to 6 months before needing a replacement.
Step 3: Clear the Outdoor Condenser Unit
Your air conditioning system doesn't actually "create" cold air; instead, it absorbs heat from inside your home and dumps it outside. This critical heat release happens at the outdoor condenser unit.
The outdoor unit features a compressor, a large fan, and a wrap-around coil made of thin metal fins. As the fan spins, it draws outdoor air through these metal fins to cool down the hot refrigerant inside. If these fins are blocked, dirty, or choked with debris, the heat remains trapped inside the refrigerant, and your system will struggle to cool your home.
Walk outside and inspect your outdoor unit. Over time, it can easily become blocked by:
- Overgrown weeds, grass, or shrubs
- Fallen leaves, twigs, and mulch
- Cottonwood seeds (a notorious nuisance in the Twin Cities metro area that acts like a felt blanket on condenser coils)
- Spiderwebs and windblown trash
For optimal performance, maintain at least two feet of clear space around all sides of your outdoor condenser unit, and ensure there are no low-hanging branches directly above it.
If the metal fins look dirty or dusty, you can clean them yourself. Turn off the power to the AC at the outdoor disconnect box (usually located on the wall near the unit). Then, take a standard garden hose and gently spray the coils from the top down at a 45-degree angle. Never use a pressure washer to clean your AC unit; the high-pressure stream will easily bend the delicate aluminum fins, permanently restricting airflow and leaving you wondering Why Is Your Air Conditioner Not Putting Out Cold Air.
Advanced Airflow and Drainage Issues to Inspect
If your thermostat is set correctly, your filter is clean, and your outdoor unit is clear, but your home is still warm, you may be dealing with an internal airflow or drainage issue. These problems can be slightly harder to spot because they involve components located inside your home’s indoor air handler or furnace closet. Understanding these issues can help you protect your system from severe damage and recognize the Signs That Your Air Conditioner Might Be Failing.
Step 4: Check for a Frozen Evaporator Coil
A frozen evaporator coil is a classic "silent killer" of AC performance, accounting for roughly 10% to 15% of all cooling failures. When the refrigerant flowing through the indoor coil cannot absorb enough heat from your home's air, the moisture that naturally condenses on the coil freezes solid.
Once a layer of ice forms on the coil, it acts as an insulator, blocking any further heat transfer. The ice will continue to grow thicker until it completely blocks the airflow, causing your system to blow warm air or stop blowing air altogether.
How to check for a frozen coil:
- Look at the copper refrigerant lines entering your indoor furnace or air handler. Are they covered in frost or ice?
- Is there water pooling on the floor around your indoor unit?
- Is the airflow coming out of your vents incredibly weak, even though you can hear the indoor fan running?
If you suspect your coil is frozen, the worst thing you can do is keep running the AC. Doing so strains the compressor and can cause permanent mechanical failure.
Instead, follow the steps on How Do You Fix Your Air Conditioner That Is Not Cooling to safely thaw it out:
- Turn your thermostat completely OFF to stop the cooling cycle.
- Switch the fan setting to ON (instead of AUTO). This forces the warm indoor air to blow continuously over the frozen coil, helping it melt safely.
- Check your air filter. If it is dirty, replace it immediately, as restricted airflow is the primary cause of frozen coils.
- Wait 4 to 24 hours for the ice to melt completely before attempting to run the cooling cycle again.
Step 5: Examine the Condensate Drain Line
As your air conditioner cools your home, it also dehumidifies the air. The moisture extracted from the air drips off the evaporator coil into a drain pan and flows out of your home through a plastic PVC pipe called the condensate drain line.
Over time, this dark, damp drain line can become a breeding ground for algae, mold, and mildew. If a clog forms, the water has nowhere to go. In modern systems, a safety device called a float switch is installed in the drain pan. If the water level rises too high, the float switch trips and automatically shuts down your entire AC system to prevent water from overflowing and causing severe water damage to your ceilings, walls, or basement floor.
If you notice your AC Dripping Water Inside Home, a clogged drain line is the most likely culprit. You can often clear a minor clog yourself by attaching a wet/dry shop vacuum to the outdoor end of the drain line and sucking out the accumulated sludge and algae. To prevent future clogs, pour a cup of plain white vinegar down your indoor condensate T-pipe once a year in the spring.
When to Call a Professional for Complex AC Failures
While checking a thermostat, replacing an air filter, or hosing down a condenser unit are perfectly safe DIY tasks, some air conditioning problems are too complex or dangerous for homeowners to tackle. If you've gone through the basic steps and your home is still warm, it is time to evaluate whether a repair or a full system upgrade is needed, by checking Is It Time to Repair or Replace My Air Conditioner.
Step 6: Identify Refrigerant Leaks and Low Levels
Refrigerant is the specialized chemical compound that flows through your AC system, absorbing heat from inside and releasing it outside. A common misconception is that air conditioners "consume" refrigerant over time, much like a car burns gasoline. In reality, your AC is a completely closed, sealed system. If your refrigerant levels are low, it means you have a leak.
Refrigerant leaks are responsible for 15% to 20% of residential cooling failures. Signs of a refrigerant leak include:
- Warm air blowing from the supply vents
- A gradual drop in cooling capacity over several weeks
- Ice forming on the copper refrigerant lines or the outdoor unit
- A bubbling or hissing sound coming from the indoor or outdoor unit
- Oily residue around the copper line connections or valves
The June 2026 Refrigerant TransitionIf you suspect a leak, it is critical to turn off your AC immediately and call a professional. Running a system with low refrigerant causes the compressor to overheat, which can quickly lead to a total system burnout. Furthermore, as of June 2026, the HVAC industry is in the midst of an important environmental transition. Older refrigerants like R-22 are completely phased out, and R-410A is undergoing strict production phasedowns. New systems manufactured today utilize low-GWP alternatives like R-454B, which are highly efficient but require specialized handling by certified technicians.
Attempting to repair a leak or add refrigerant yourself is not only illegal without an EPA Section 608 certification, but it can also expose you to severe frostbite or chemical inhalation hazards. To understand the long-term impact on your home, read more about Here's What Your Leaking AC Might Cause.
Recognize Electrical and Component Failures
Your outdoor condenser contains high-voltage electrical components that work hard to keep your system running. Over time, the intense summer heat can cause these parts to degrade and fail.
The two most common electrical failures are:
- The Run Capacitor: Think of the capacitor as a temporary storage battery that provides the high-voltage "kick" needed to start and run the compressor and fan motor. Capacitor failures account for 25% to 30% of all AC service calls. If you hear a buzzing sound coming from your outdoor unit but the fan isn't spinning, a failed capacitor is likely the cause.
- The Contactor: The contactor is an electrical switch that closes when your thermostat calls for cooling, sending power to the compressor and fan. Over time, the contactor's electrical contacts can become pitted, burnt, or blocked by small insects, preventing the outdoor unit from turning on. Learn more about What Happens If the Air Contactor Goes Bad to protect your system from electrical damage.
Warning: Capacitors store dangerous levels of electrical energy even after the power to your home is turned off. Never attempt to open your AC's electrical panel or replace these components yourself. Always call a licensed, NATE-certified technician to handle electrical repairs safely.
Frequently Asked Questions About AC Cooling Problems
Why is my AC running but blowing warm air?
If your air conditioner is running but blowing warm air, start by checking your thermostat settings to ensure the fan is set to AUTO rather than ON. If the fan is set to ON, it will blow room-temperature air even when the compressor is off.
If your settings are correct, the problem is likely a dirty air filter blocking airflow, a frozen evaporator coil, or a failed outdoor component like a run capacitor or compressor. For a deeper dive into diagnosing this specific symptom, check out our guide on Air Conditioner Not Blowing Cold Air.
If my ac is not cooling properly what to check for frozen coils?
To check for frozen coils, look for visible frost or ice buildup on the copper refrigerant lines connected to your indoor evaporator coil (usually located above your furnace). You can also check for weak airflow from your vents or water pooling around your indoor unit as the ice melts.
If you find ice, turn off your AC immediately and set the thermostat fan to ON to safely thaw the system. For step-by-step instructions on resolving this issue, read How Do You Fix Your Air Conditioner That Is Not Cooling.
When my ac is not cooling properly what to check on the outdoor unit?
When inspecting your outdoor condenser unit, check for any visible blockages like weeds, leaves, or cottonwood seeds stuck to the metal fins. Ensure there is at least two feet of clear space around the unit for proper airflow.
Additionally, listen for unusual noises; a loud buzzing sound often points to a failed capacitor, while a metallic clunking sound could indicate a failing compressor. For more troubleshooting tips for your outdoor unit, see Why Is Your Air Conditioner Not Putting Out Cold Air.
Conclusion: Keep Your Twin Cities Home Cool and Comfortable
When your air conditioner isn't cooling properly, running through basic troubleshooting steps like checking the thermostat, replacing a dirty filter, and clearing debris from your outdoor unit can often save you from an unnecessary service call. However, if your system is still blowing warm air, short-cycling, or showing signs of a refrigerant leak, it's best to leave the complex repairs to the experts.
If you find yourself wondering Is It Time to Repair or Replace My Air Conditioner, our experienced team is here to help you make the best decision for your home and your budget.
For over 50 years, Countryside Heating & Cooling Solutions has kept families comfortable across the Twin Cities western suburbs — from Maple Plain and Minnetonka to Wayzata and Eden Prairie. Our NATE-certified technicians are committed to providing reliable, high-quality workmanship, backed by our next-business-day service guarantee.
Don't sweat through another hot afternoon. Contact us today to schedule your professional tune-up or repair, and let us restore comfort to your home with our premier Countryside Heating & Cooling Solutions Air Conditioning Services.
